Some think it's really challenging, we also have a lot of food allergies/sensitivities/diet plans. This month was no different. Breakfast potluck: with dairy & gluten allergies, paleo and whole 30 dieters. I knew the "I'll just bring fruit" route was going to be snatched up pretty fast, which is fine: I wanted to go a different route.
Bring in the Mini Puff Pancakes. Typically made in a giant 9x13 pan but minis are making an appearance. It's basically an eggy pancakes that puffs up while baking and then sinks down in the midde as it cool, providing a space for filling.
Ingredients:
1/2 cup flour (use your choice here. Gluten free subs work great in this recipe. I use my own grain free blend that is equal part Cassava, Coconut, Almond, Arrowroot and Tapioca Flour)
1/2 cup Coconut milk (Another good choice is Almond milk. If you drink dairy- normal dairy milk is fine here too)
3 large eggs
1/2 tsp vanilla extract
1/4 cup coconut butter (yes this is a weird recipe that you can just straight up sub recipe ingredients without interference. Feel free to use your favorite butter or butter replacement)
Coconut Oil (for the pan)
Preheat oven to 400 degrees.
Grease the cupcake pan with coconut oil (liberally) and put in the oven to heat up while you mix the batter.
Melt coconut butter so it mixes easily. Combine with flour and vanilla. Add eggs and mix until smooth.
Remove pan from the oven. (it should be hot) Fill each cavity 1/2 way full with batter. Return pan to oven as quickly as possible to maintain the heat.
Bake for 15 mins until lightly brown and poofed up in the middle. (Yes I know that isn't a real word)

Mine looked like this when they were done. Little domes of tastiness.
I let them cool in the pan.
Total mistake, I had a few that stuck :(
Flip them out as soon as you can. I'd give it 5 mins and them pop them out and let them finish cooling on a rack (or eat right away)

Here is what mine looked like after cooling.
Depending on the flour/dairy mix you will get either more or equal to the collapse in the middle
The faster you work to put the batter in the pan and back in the oven also helps this out.
I was totally fine with my collapse amount considering I am using dairy free/grain free ingredients.
The pancakes are totally ready to eat at this point. Have at them orrrrrrr add a filling of your choice. Jelly/jam, cover in syrup like a normal pancake. Chocolate sauce.. You name it.
I chose to add in a fresh blueberry reduction (mainly because I had gone crazy at the store the over the weekend and bought an insane amount of berries. My family would never be able to eat them all and I didn't want to freeze them.)
BLUEBERRY REDUCTION:
Ingredients
3 cups fresh Blueberries (I think frozen sub here would work out fine)
1 tsp lemon juice
1/4 cup maple syrup or honey (optional. Depending on the sweetness of your berries. Taste test 1st)
*1 tsp Agar Agar (your choice here!)
* A little about Agar Agar. It is an extract of red algae. When boiled it gets liquid, when cooled it's gel like. I add it in place of gelatin. It works at a about a 1:7 ratio, so I use way less.
It should be pretty easy to find at any major store.
If you NEED the sweetener, add at this point. My berries were pretty sweet on their own, so I didn't use any (plus I was making it for a potluck where some people are doing Whole 30)
Add the agar if you are wanting a more jelly like reduction. Not needed if you prefer a sauce like filling.
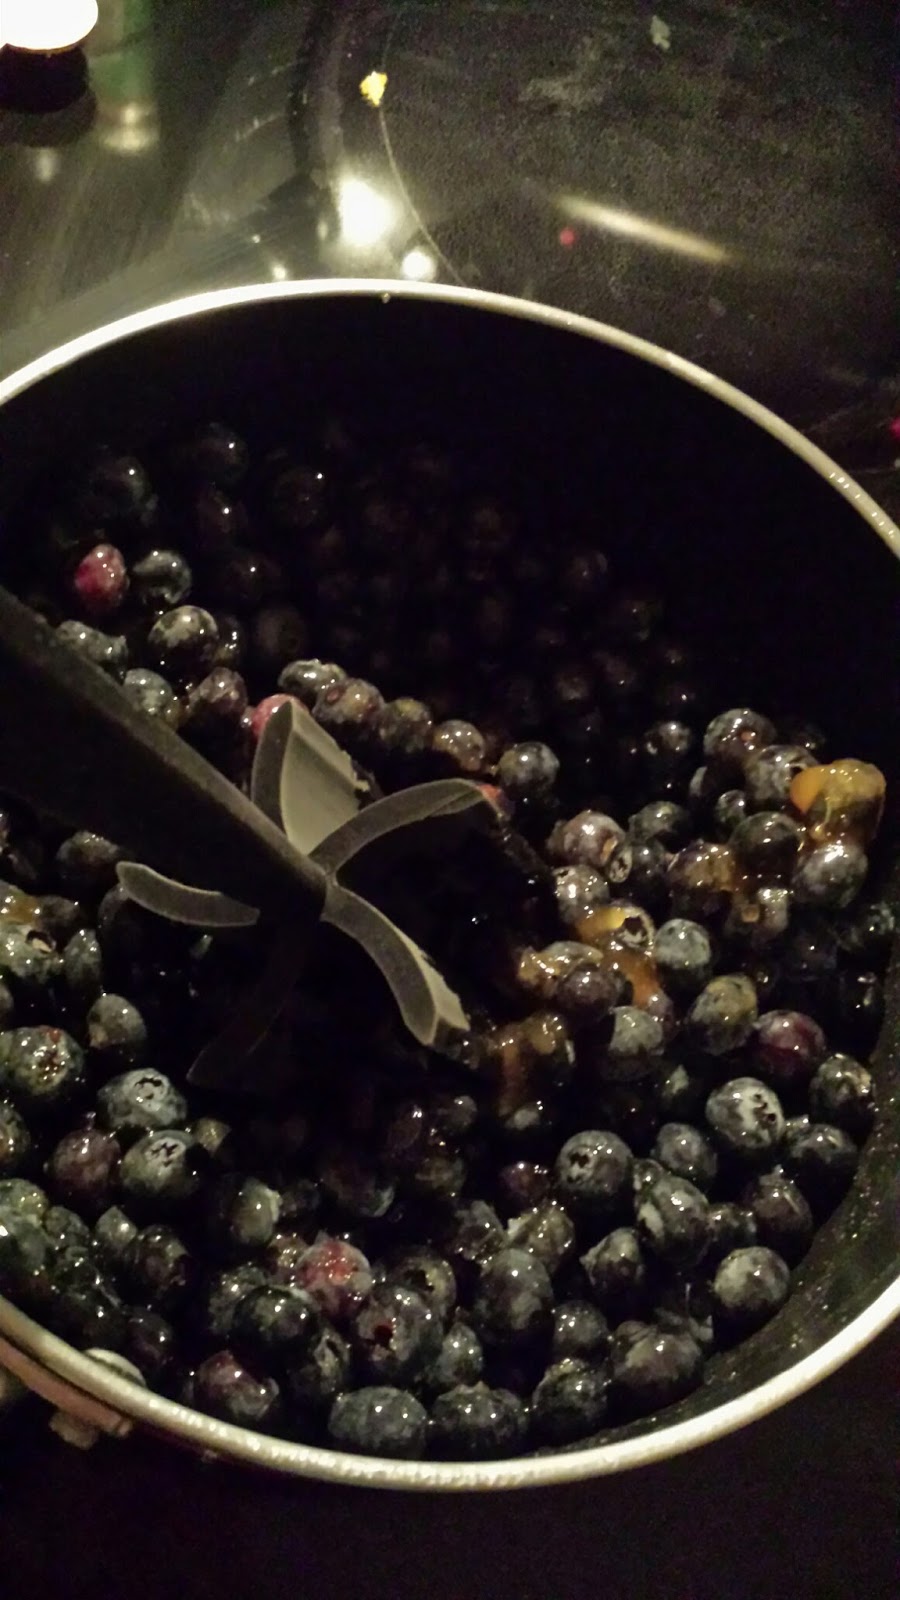
On med heat, simmer on a low boil..during this I like to use the tool to not only mix but also mush up the berries.
Simmer for 10 mins add in the lemon juice and mix. Simmer additional 2 mins.
Remove from hear and transfer to a heat proof storage container for storing or right away.

Side note.
This recipe makes waaaaaaaaayyyyyy to much to solely be used for pancake filing.
If that is your purpose, I'd cut the recipe into just a 1/3 or 1/4 the amount.
But you can do so much with a good blueberry jelly.
I personally have just been eating it by the spoonful.
Finished product. Little eggy bites of Happiness
(ignore my chipped nail polish)
 |


